
Shove, Pull, Knock Back
Push enemies off ledges or into fire; position itself becomes the weapon.
- Prototype complexity
- Who plays
- Solo decisions
- Design focus
- Spatial · Planning · Risk
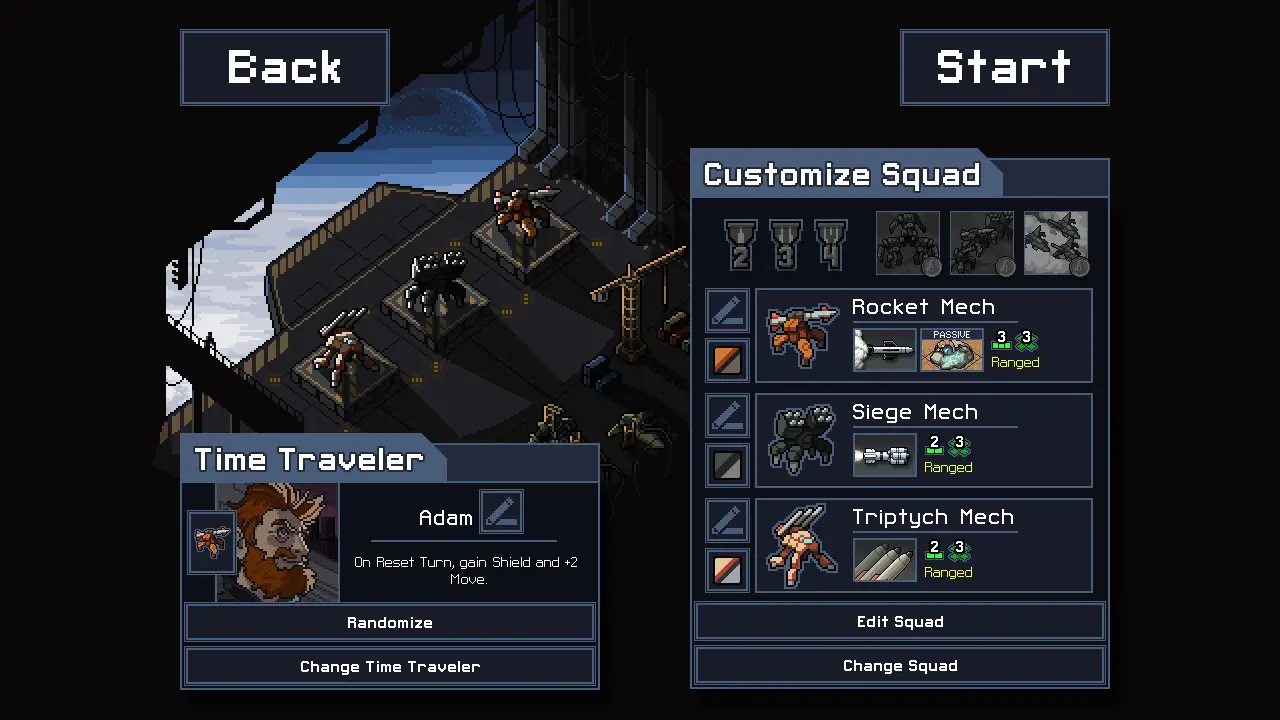 No.134Into the Breach
01The core loop
Action → feedback → next choice- 01Find hazardous terrain
- 02Plan the push direction
- 03Shove or pull
- 04Hazard does the work
↻Feedback changes the situation — the next round starts from there.
Walk through one round
A simplified design example. Situations and numbers illustrate the mechanic, not exact rules from a reference game.
- T1
Turn 1 · The situation
A 3-HP enemy stands next to water; your punch deals 1 damage and pushes 1 tile.
- T2
Turn 2 · The player chooses
The player steps behind it and pushes toward the water.
- T3
Turn 3 · The feedback
It falls in and drowns instantly, with a splash effect.
- T4
Turn 4 · The next decision
The player starts scanning for the next enemy near water or a ledge.
How it plays
Some attacks push, pull or knock targets a set distance; colliding with obstacles or units adds damage, and falling into chasms, water or traps can end them outright. Direction usually depends on the attacker's position, so footing is the key calculation.
What the player weighs
- Displace for an environmental kill vs. just deal damage
- Push enemies away for safety vs. group them for area attacks
02Start small
Scope is an editorial estimate for the minimum prototype, not the reference game or a production schedule.
03One mechanic, different implementations
Into the Breach
Many weapons deal little damage but push; bumping into units or buildings hurts both, and shoving Vek into water or chasms is a staple solution.
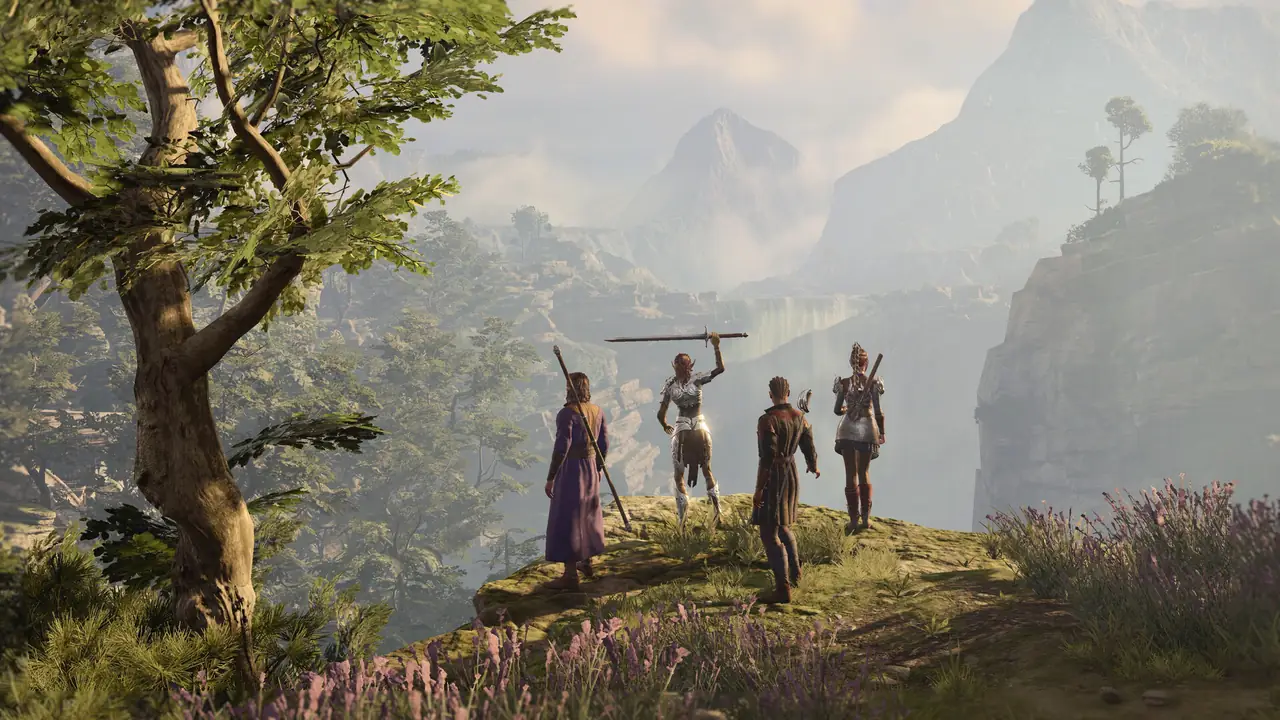
Baldur’s Gate 3
Shove is a bonus action anyone can use, and pushing enemies off heights causes falling damage; spells like Thunderwave push several at once.
The difference worth noticing
Into the Breach's displacement is exact and deterministic; Baldur's Gate 3's shove involves checks and dice uncertainty.
Case notes are Yoroll editorial summaries; rules may change between versions.
04What could you combine?
Combine with beam routing: shove a mirror-bearing enemy onto the right tile so its reflection opens gates or burns its allies.
Prototype this combo in Yoroll→Follow the next idea
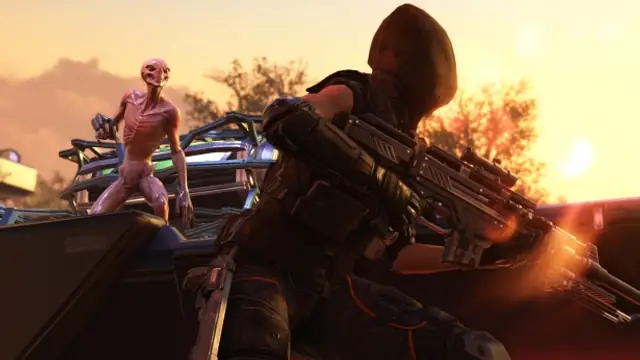
Cover and Flanking
Cover keeps you safe until someone walks around it.
- Prototype complexity
- Who plays
- Solo decisions
- 01Check where cover faces
- 02Move to a flanking angle
- 03Gain an accuracy bonus
- 04Guard against counter-flanks
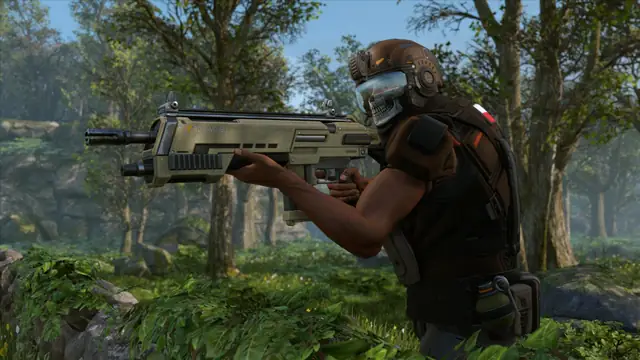
Blow Up the Cover
If the enemy is well hidden, blow up the wall; the battlefield keeps changing.
- Prototype complexity
- Who plays
- Solo decisions
- 01Find the cover they rely on
- 02Destroy it with explosives
- 03Enemy is exposed
- 04Follow up the attack

Area Attacks Hit Everyone
A fireball doesn't care whose side you're on, so clear your allies first.
- Prototype complexity
- Who plays
- Solo decisions
- 01Find a cluster
- 02Check ally positions
- 03Adjust position or angle
- 04Cast and live with it